
In the ever-evolving world of healthy snacking, crunchy garlic herb roasted chickpeas have emerged as a delightful and nutritious option. These little legumes pack a punch, transforming humble chickpeas into a crispy, savory treat that caters to both flavor enthusiasts and health-conscious eaters. With their satisfying crunch and rich taste profile, roasted chickpeas are perfect for satisfying those mid-afternoon cravings or adding a protein boost to your salads.
This recipe not only highlights the versatility of chickpeas but also showcases how simple ingredients can come together to create an incredibly nutritious snack. In this article, we will guide you through the process of making these roasted chickpeas while also delving into their nutritional benefits, tips for achieving the perfect crunch, and creative ways to incorporate them into your meals.
Understanding the Ingredients
To create the perfect batch of crunchy garlic herb roasted chickpeas, it’s essential to understand the core ingredients that make up this flavorful dish. Each component plays a unique role in enhancing both the taste and health benefits of the final product.
Chickpeas: The Nutritional Powerhouse
Chickpeas, also known as garbanzo beans, are the star of this recipe. These legumes are not only a great source of plant-based protein but also provide essential nutrients such as fiber, iron, and folate. Their high fiber content aids in digestion and helps keep you feeling full longer, making them an excellent choice for snacking. Moreover, chickpeas are versatile and can be used in a variety of dishes, from soups to salads, making them a staple in many kitchens.
Olive Oil: Health Benefits and Flavor Enhancer
When it comes to roasting, olive oil is the go-to choice for adding flavor and ensuring a crispy texture. Rich in monounsaturated fats, olive oil is known for its heart-healthy properties, including reducing inflammation and lowering the risk of chronic diseases. Additionally, it enhances the flavor of the chickpeas, helping to create that irresistible crunch when roasted.
Herbs and Spices: The Flavorful Combination
The real magic of this recipe lies in the herbs and spices that elevate the chickpeas from simple to sensational. Each ingredient contributes to a complex flavor profile that is both savory and aromatic.
– Garlic: A staple in many cuisines, garlic adds a robust flavor to the roasted chickpeas while also offering numerous health benefits, including antioxidant properties and boosting the immune system.
– Oregano and Thyme: These aromatic herbs complement the garlic beautifully, providing a fragrant and earthy quality to the dish. Both herbs have been linked to various health benefits, including anti-inflammatory properties and digestive support.
– Smoked Paprika: This spice introduces a subtle smokiness that deepens the overall flavor of the chickpeas. Smoked paprika is not only delicious but also rich in antioxidants, making it a fantastic addition to this recipe.
– Seasoning Essentials: Simple salt and pepper enhance the natural flavors of the chickpeas, while a pinch of cayenne pepper adds a hint of heat, balancing the savory notes with a mild kick.
Step-by-Step Instructions for Roasting Chickpeas
Creating the perfect crunchy garlic herb roasted chickpeas involves a few straightforward steps. As we walk you through the process, keep in mind that attention to detail is key to achieving the desired texture and flavor.
Preheating the Oven: Setting the Stage for Crispiness
Start by preheating your oven to 400°F (200°C). This temperature is ideal for roasting, allowing the chickpeas to crisp up without burning. A properly preheated oven is crucial for ensuring even cooking, so don’t skip this step.
Preparing the Chickpeas: Drying and the Importance of Moisture Removal
Next, rinse and drain your canned chickpeas or soak dried chickpeas before cooking them. If using canned chickpeas, make sure to pat them dry with a clean kitchen towel or paper towels. Removing excess moisture is vital, as it helps achieve that perfect crispy texture when roasted. Any moisture left on the chickpeas can lead to steaming rather than roasting, resulting in a less desirable texture.
Mixing the Seasoning: Blending for Maximum Flavor
In a mixing bowl, combine your chosen herbs and spices. A classic blend for this recipe includes minced garlic, dried oregano, dried thyme, smoked paprika, salt, pepper, and cayenne. Adjust the amounts according to your taste preferences—more garlic for a stronger flavor or less cayenne for a milder kick. Mixing the spices together before coating the chickpeas ensures that every bite is evenly seasoned.
Coating the Chickpeas: Ensuring Every Bite is Flavorful
In a separate bowl, drizzle the dried chickpeas with olive oil, making sure they are well-coated. Next, sprinkle the mixed seasonings over the chickpeas and toss them until they are evenly coated. This step is crucial, as it ensures that the flavors penetrate the chickpeas, enhancing their taste with each crunchy bite.
Arranging on a Baking Sheet: Tips for Even Roasting
Once the chickpeas are coated, spread them in a single layer on a baking sheet lined with parchment paper. Avoid overcrowding the pan, as this can lead to uneven roasting. If necessary, use two baking sheets to ensure ample space between the chickpeas, allowing for maximum air circulation and crispiness.
Roasting: Timing and Techniques for Perfect Chickpeas
Place the baking sheet in the preheated oven and roast the chickpeas for about 25 to 30 minutes. It’s essential to stir or shake the baking sheet halfway through to promote even cooking. Keep an eye on them as they approach the end of the roasting time; you want them to be golden brown and crunchy but not burnt.
Cooling: Why It’s Crucial for Crunchiness
Once the chickpeas are roasted to perfection, remove them from the oven and let them cool for a few minutes on the baking sheet. This cooling period is important as it allows the chickpeas to continue crisping up. If you attempt to eat them right away, they may still be a bit soft in the center. Patience is key for that ideal crunch.
Garnishing: Adding Freshness with Parsley
For an added touch of flavor and color, consider garnishing your roasted chickpeas with freshly chopped parsley or a sprinkle of more herbs. This not only enhances the visual appeal of the dish but also adds a layer of freshness that complements the savory flavors beautifully.
As you embark on your journey to create these crunchy garlic herb roasted chickpeas, remember that the key to a successful recipe lies in the quality of your ingredients and your attention to detail during preparation. Not only will you end up with a delicious snack, but you’ll also be nourishing your body with a wholesome treat that fits seamlessly into a healthy lifestyle. In the next section, we will explore the nutritional benefits of roasted chickpeas to further highlight why they are a fantastic addition to any diet.
{{image_2}}
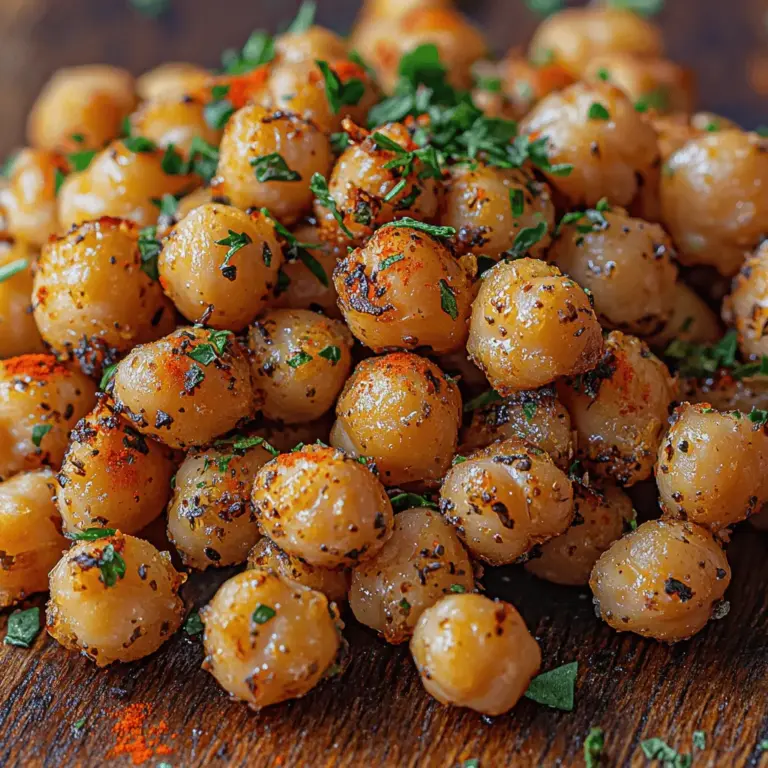
Chickpeas, also known as garbanzo beans, are a fantastic plant-based protein source packed with nutrients. Whether you’re looking to increase your protein intake or seeking a healthy snack option, crunchy garlic herb roasted chickpeas are the perfect solution. Not only do they provide high protein, but they also come with a host of health benefits, making them an ideal addition to your diet.
High Protein Snack: A Plant-Based Protein Source
Chickpeas are a nutritional marvel, containing about 15 grams of protein per cooked cup. This makes them a fantastic option for those following a plant-based diet or anyone looking to incorporate more protein into their meals. Protein is essential for muscle repair, immune function, and overall health, making these roasted chickpeas a smart choice for athletes, busy professionals, or anyone in need of a healthy snack.
Fiber Content: Promoting Digestive Health
Beyond protein, chickpeas are a rich source of dietary fiber, boasting about 12 grams per cup. Fiber is crucial for digestive health, helping to regulate bowel movements and prevent constipation. It also aids in maintaining a healthy weight by promoting feelings of fullness. By choosing crunchy garlic herb roasted chickpeas, you not only satisfy your cravings but also invest in your gut health.
Low-Calorie Option: Satisfy Your Snack Cravings Healthily
For those who are calorie-conscious yet crave something crunchy, this roasted chickpea recipe is a low-calorie alternative to traditional snack foods like chips or crackers. With only around 130 calories per serving, you can indulge without the guilt. This makes them an excellent option for mid-afternoon munchies or late-night cravings, ensuring that you stay on track with your health goals.
Antioxidants and Nutrients: The Health Boost from Garlic and Herbs
The addition of garlic and herbs not only enhances flavor but also infuses your snack with antioxidants and essential nutrients. Garlic has been linked to numerous health benefits, including improved heart health and immune function. Fresh herbs like rosemary and thyme offer anti-inflammatory properties and are rich in vitamins and minerals. Incorporating these ingredients into your roasted chickpeas elevates their nutritional profile, making them a powerhouse of health benefits.
Versatility: A Snack That Fits Various Diets
One of the best aspects of crunchy garlic herb roasted chickpeas is their versatility. These snacks are naturally gluten-free, vegan, and low in carbs, making them suitable for various dietary preferences and restrictions. Whether you’re following a ketogenic diet, a vegetarian lifestyle, or simply looking for healthier snack alternatives, these roasted chickpeas will fit seamlessly into your meal plan.
Serving Suggestions for Crunchy Garlic Herb Roasted Chickpeas
As a Standalone Snack: Perfect for Munching
The simplest way to enjoy crunchy garlic herb roasted chickpeas is as a standalone snack. Their satisfying crunch and savory flavor make them perfect for munching anytime during the day. Whether you pack them for a snack at work or enjoy them while watching your favorite show, they are sure to satisfy your cravings.
Adding to Salads: Elevate Your Greens with Crunch
Looking to add texture and protein to your salads? Toss a handful of roasted chickpeas onto your greens. Their crunchy exterior and flavorful seasoning will enhance the overall taste and make your salads more filling. Pair them with your favorite dressing, and you have a wholesome meal that is both nutritious and satisfying.
Incorporating into Bowls: A Versatile Addition to Grain Bowls
Roasted chickpeas can also elevate your grain bowls. Whether you’re using quinoa, brown rice, or farro as a base, adding these crispy legumes provides not only flavor but also an extra crunch. Combine them with roasted vegetables, avocado, and your choice of dressing for a balanced meal that will keep you full for hours.
Pairing with Dips: Enhancing Flavor with Sauces
For an exciting twist, pair your roasted chickpeas with dips. Hummus, tzatziki, or even a spicy salsa can complement the flavors of the chickpeas beautifully. This combination makes for a delightful appetizer or party snack that will impress your guests while also being healthy.
Common Mistakes and How to Avoid Them
Overcrowding the Baking Sheet: Ensuring Even Roasting
One common mistake when roasting chickpeas is overcrowding the baking sheet. When chickpeas are too close together, they steam rather than roast, leading to less crispiness. To achieve that perfect crunch, ensure they are spread out in a single layer with enough space for air circulation.
Inadequate Drying: Achieving Maximum Crispiness
For the crispiest result, it’s essential to dry your chickpeas thoroughly before roasting. After rinsing and draining canned chickpeas, use a clean kitchen towel to pat them dry. Removing excess moisture is key to achieving that desired crunch.
Ignoring Cooking Time: The Importance of Monitoring
Keep an eye on your roasted chickpeas while they bake. Cooking times can vary based on your oven and the size of the chickpeas. It’s best to check them periodically and give them a shake or stir to ensure even cooking. This will help prevent any from burning and ensure you get the perfect texture.
Seasoning Imbalance: Finding the Right Flavor Balance
Another mistake to avoid is over-seasoning or under-seasoning your chickpeas. Start with a moderate amount of garlic powder, salt, and herbs, then taste and adjust as needed. Remember, you can always add more seasoning, but it’s difficult to take it away if you overdo it.
Storing Leftovers: Keeping Chickpeas Fresh and Crispy
Storage Techniques: How to Maintain Crispiness
To keep your leftover roasted chickpeas fresh and crispy, store them in an airtight container at room temperature. Avoid refrigerating them, as moisture can cause them to lose their crunch. For longer storage, consider placing them in a glass jar with a tight-fitting lid to keep out air and humidity.
Reheating Tips: Reviving Leftover Roasted Chickpeas
If you need to revive leftover roasted chickpeas, a quick reheat in the oven at 350°F (175°C) for about 5-10 minutes will bring back their crunch. Spread them out on a baking sheet to ensure they reheat evenly. Avoid using the microwave, as it can make them chewy rather than crispy.
Shelf Life: Knowing When to Discard
Roasted chickpeas are best enjoyed fresh, but when stored properly, they can last for about 3-4 days. If they start to lose their crunch or develop an off smell, it’s time to discard them. Always trust your senses when it comes to food safety.
Conclusion: The Delightful Experience of Crunchy Garlic Herb Roasted Chickpeas
Crunchy garlic herb roasted chickpeas embody a perfect blend of taste, texture, and nutrition. This recipe not only serves as an excellent alternative to traditional snacks but also enriches your meals with added protein and flavor. With the easy-to-follow instructions and versatile serving suggestions, you can enjoy this delicious treat in multiple ways.
As you explore the world of healthy snacking, let these roasted chickpeas be a staple in your kitchen, providing both satisfaction and nourishment with every bite. Whether you’re enjoying them solo, tossing them into salads, or adding them to grain bowls, these crispy delights are sure to become a favorite in your household. So, grab your chickpeas and start roasting—your taste buds will thank you!
